Safety Precautions
Your Qure Micro-Infusion treatment is designed to be gentle and effective — but
it’s important to use it correctly.
We recommend completing a patch test on an area of your skin that isn't too
exposed prior to treatment, to have a better understanding of how your skin will
react and the downtime you should expect.
Do not use Micro-Infusion if:
- You have active acne, open wounds, sunburn, eczema, or rosacea
- You’ve used retinoids, acids (AHAs/BHAs), or exfoliants in the last 48 hours
- You’ve recently had laser, filler, or chemical peel treatments (wait at
least 2 weeks)
- You’re pregnant or breastfeeding (without consulting your doctor first)
- You have a history of keloid scarring or severe skin sensitivity
- You have metal allergies or any medical concern
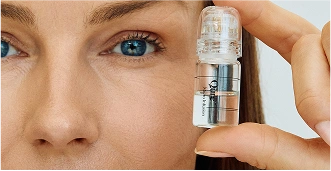
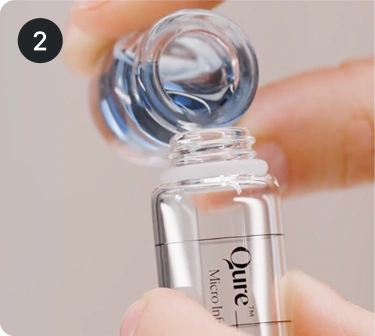
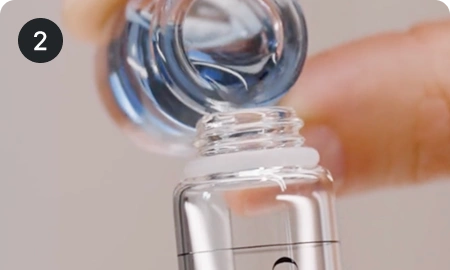
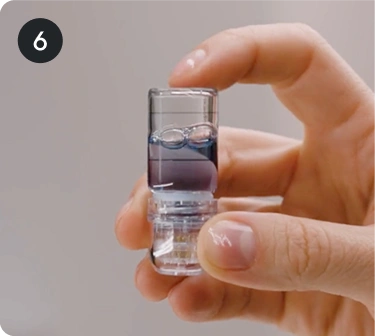
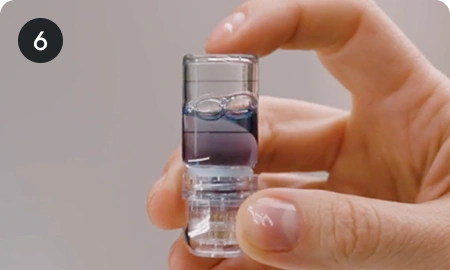
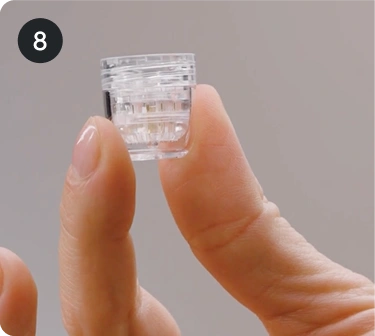
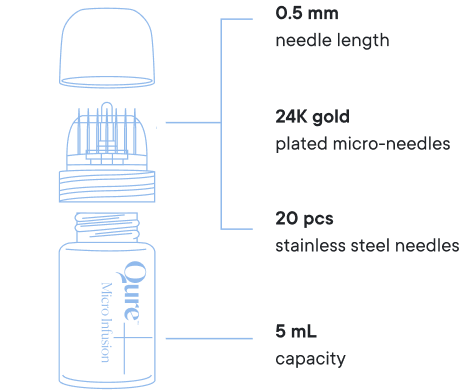
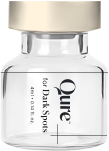
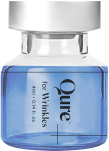
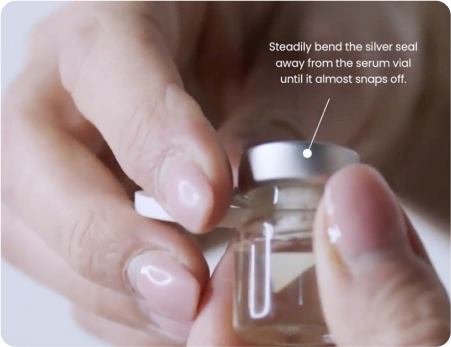
Only use the serums supplied with your
Micro-Infusion Device. Only our serum ampoules are developed specifically
for the Qure’s Micro-Infusion Device.
Note:
This treatment is not intended to diagnose, treat, cure, or prevent any disease.
If you have any skin conditions, are pregnant or breastfeeding, please consult
with your doctor prior to treatment.
If you have metal allergies or if you have any medical concern, please consult
your medical professional before using this treatment device. Any harmful
consequence resulting from misuse or application to other body areas, not
following instruction or any other improper applications is neither the
responsibility of Qure Skincare Pty Ltd. or its affiliates.


 Even my esthetician is hooked!